Hi!
I’m trying to learn more about image classification and I’m starting with the following hub examples:
and
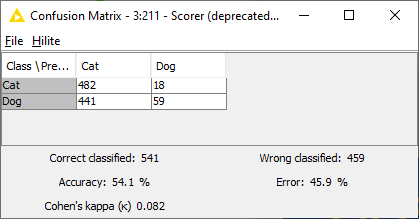
after running the workflow, I get really poor results:
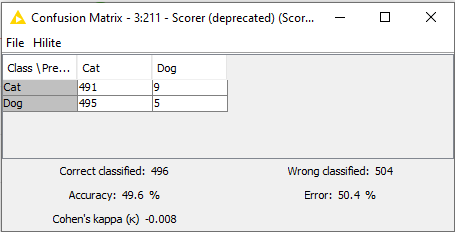
Is this expected? I know there are follow up examples on the hub that are supposed to improve the accuracy, but this is basically as accurate as a guess. Sometimes, depending on the random seed, the result is worse than a 50/50 guess:
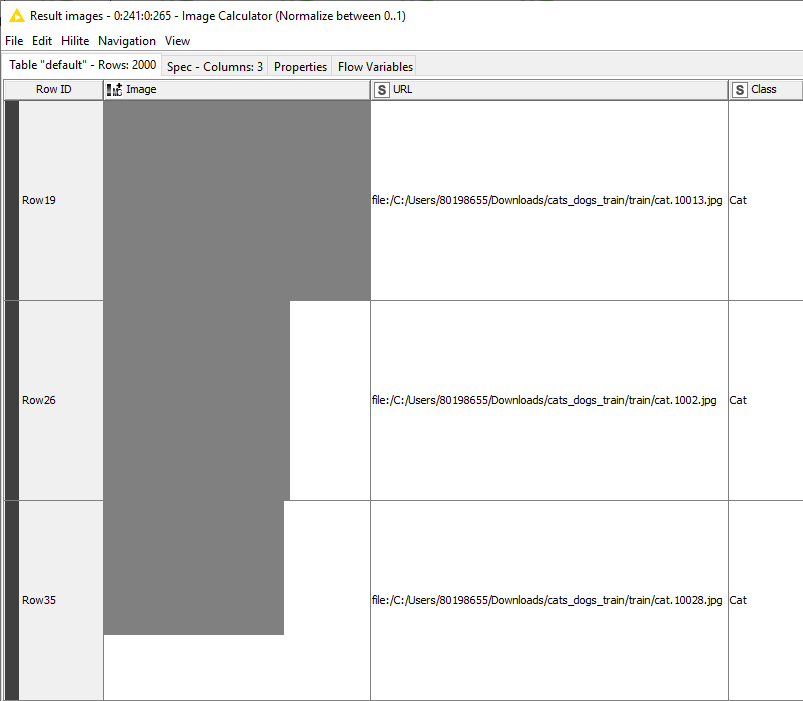
I’ve also noticed that the default result for the image normalization in the first hub example is this:
(Result pixel type FLOATTYPE)
Is this expected as well?
Has anyone else used these hub examples recently, and if so, have you obtained the same or a better result? I’ve kept everything default in the example with the one exception of creating a smaller sample in the first workflow (only sample 2000 rows).
the problem with the example is that the learner just isn’t training long enough.
If you open the DL Python Network Learner and change the steps variable to 100, the model should achieve a better accuracy (~70%).
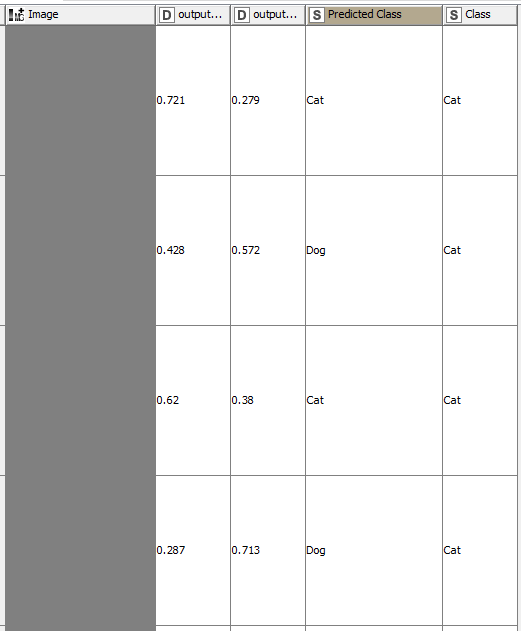
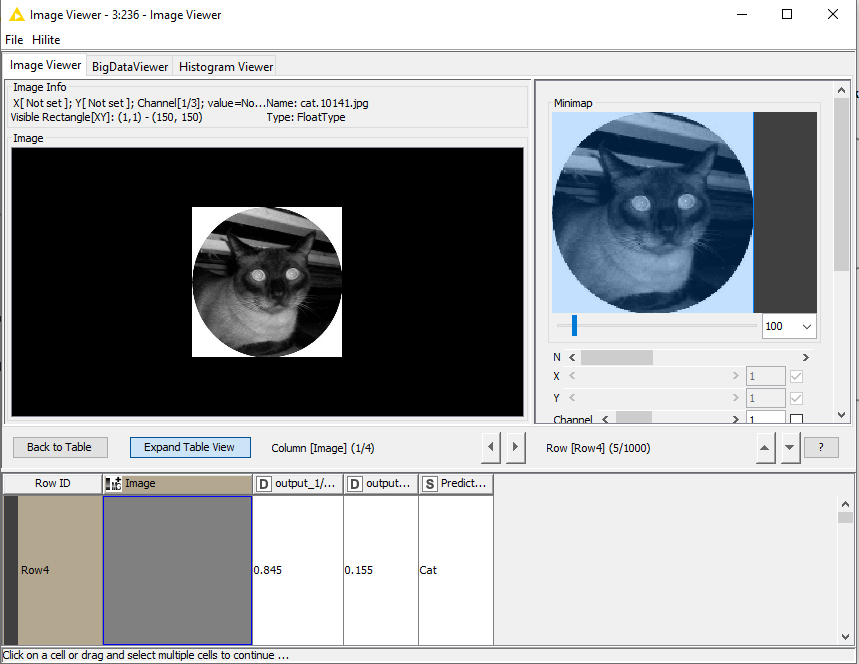
Thanks @nemad – One more question, regarding the normalization. Is there a good way to “denormalize” the image data so if I view a table with the image, predicted output, and actual output, I can actually see the image? Here is how the workflow ends:
You can also use the Image Calculator, to multiply the pixel values by 255 and change their type to Unsigned Byte. That’s the inverse of what happens in the preprocessing workflow.